
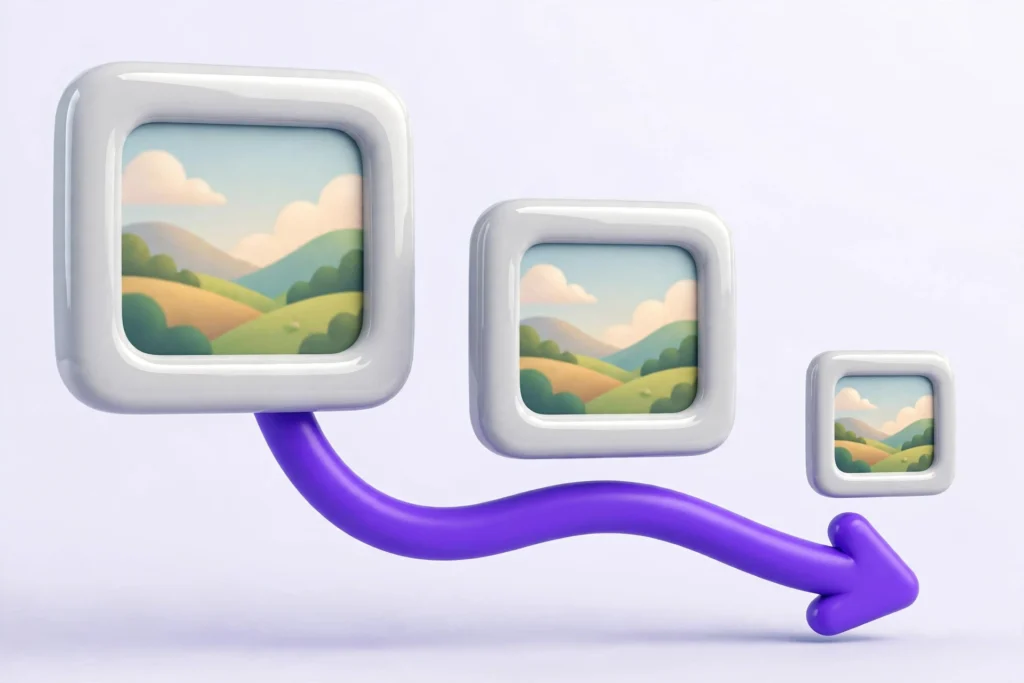
You have a photo that needs to be under a limit — a form that wants it below 2 MB, a page that loads slowly, an attachment that bounces back. You open an image tool looking for the obvious button: “compress to 50 KB.” It is not there. Instead there is a percentage slider and a quality slider, and no promise about what size will come out the other end.
That missing button is not a flaw. It is the honest version of how image compression actually works. No slider can map directly to kilobytes, because the encoder does not accept a byte count — it accepts a quality setting, and the resulting file size depends on the picture itself. Once you understand that, shrinking an image becomes a short routine: scale the pixels, set the quality, pick the right format, and check the result. This guide walks through all four steps, using a free browser tool that never uploads your photo anywhere.
The short answer
To reduce an image’s file size, shrink it to the size it will actually be shown at, then lower the quality only as far as you need to. Set the scale percentage from the display size, start quality around 85, compare the before-and-after sizes the tool shows you, and download when it fits. If it is still too big, scale down further or switch formats — do not just keep grinding the quality slider down, because that is how photos turn blocky while staying large.
File size is not dimensions
Two different numbers describe an image, and upload forms can reject you on either one:
- File size is how much data the file holds, usually shown in KB or MB. It decides whether an attachment sends, a form accepts, or a page loads quickly.
- Dimensions are the width and height in pixels, like 4000 × 3000. They decide how large the image displays and how sharp it looks.
Why a quality slider is not a kilobyte dial
Here is the part most compression guides skip. A JPEG quality setting, usually shown as a number from 0 to 100, tells the encoder how aggressively to discard visual detail. It does not tell the encoder how many bytes to produce. There is no formula that turns “quality 80” into a file size in advance — the only way to know the size is to run the compression and measure it.
That is why the same quality setting gives different results on different pictures. A simple portrait against a plain background contains far less visual information than a busy scene of leaves or fabric, even if both files started at the same size. The plain portrait compresses to almost nothing at high quality; the detailed scene stays large at the same setting, because there is simply more information for the encoder to represent.
Tools that do offer an exact-kilobyte target do not have a secret formula either. They search: encode, measure, adjust the quality, encode again, and shrink the dimensions when quality alone cannot reach the target. That search is legitimate engineering, but it is not what a simple percentage-and-quality tool does. The Image Size Reducer states its limit plainly on its own page: it cannot make an image an exact size in KB. You control the scale percentage and the quality, and the result depends on the image. Knowing that up front saves you from chasing a number the tool was never going to hit.
The lever that matters most: scale the pixels
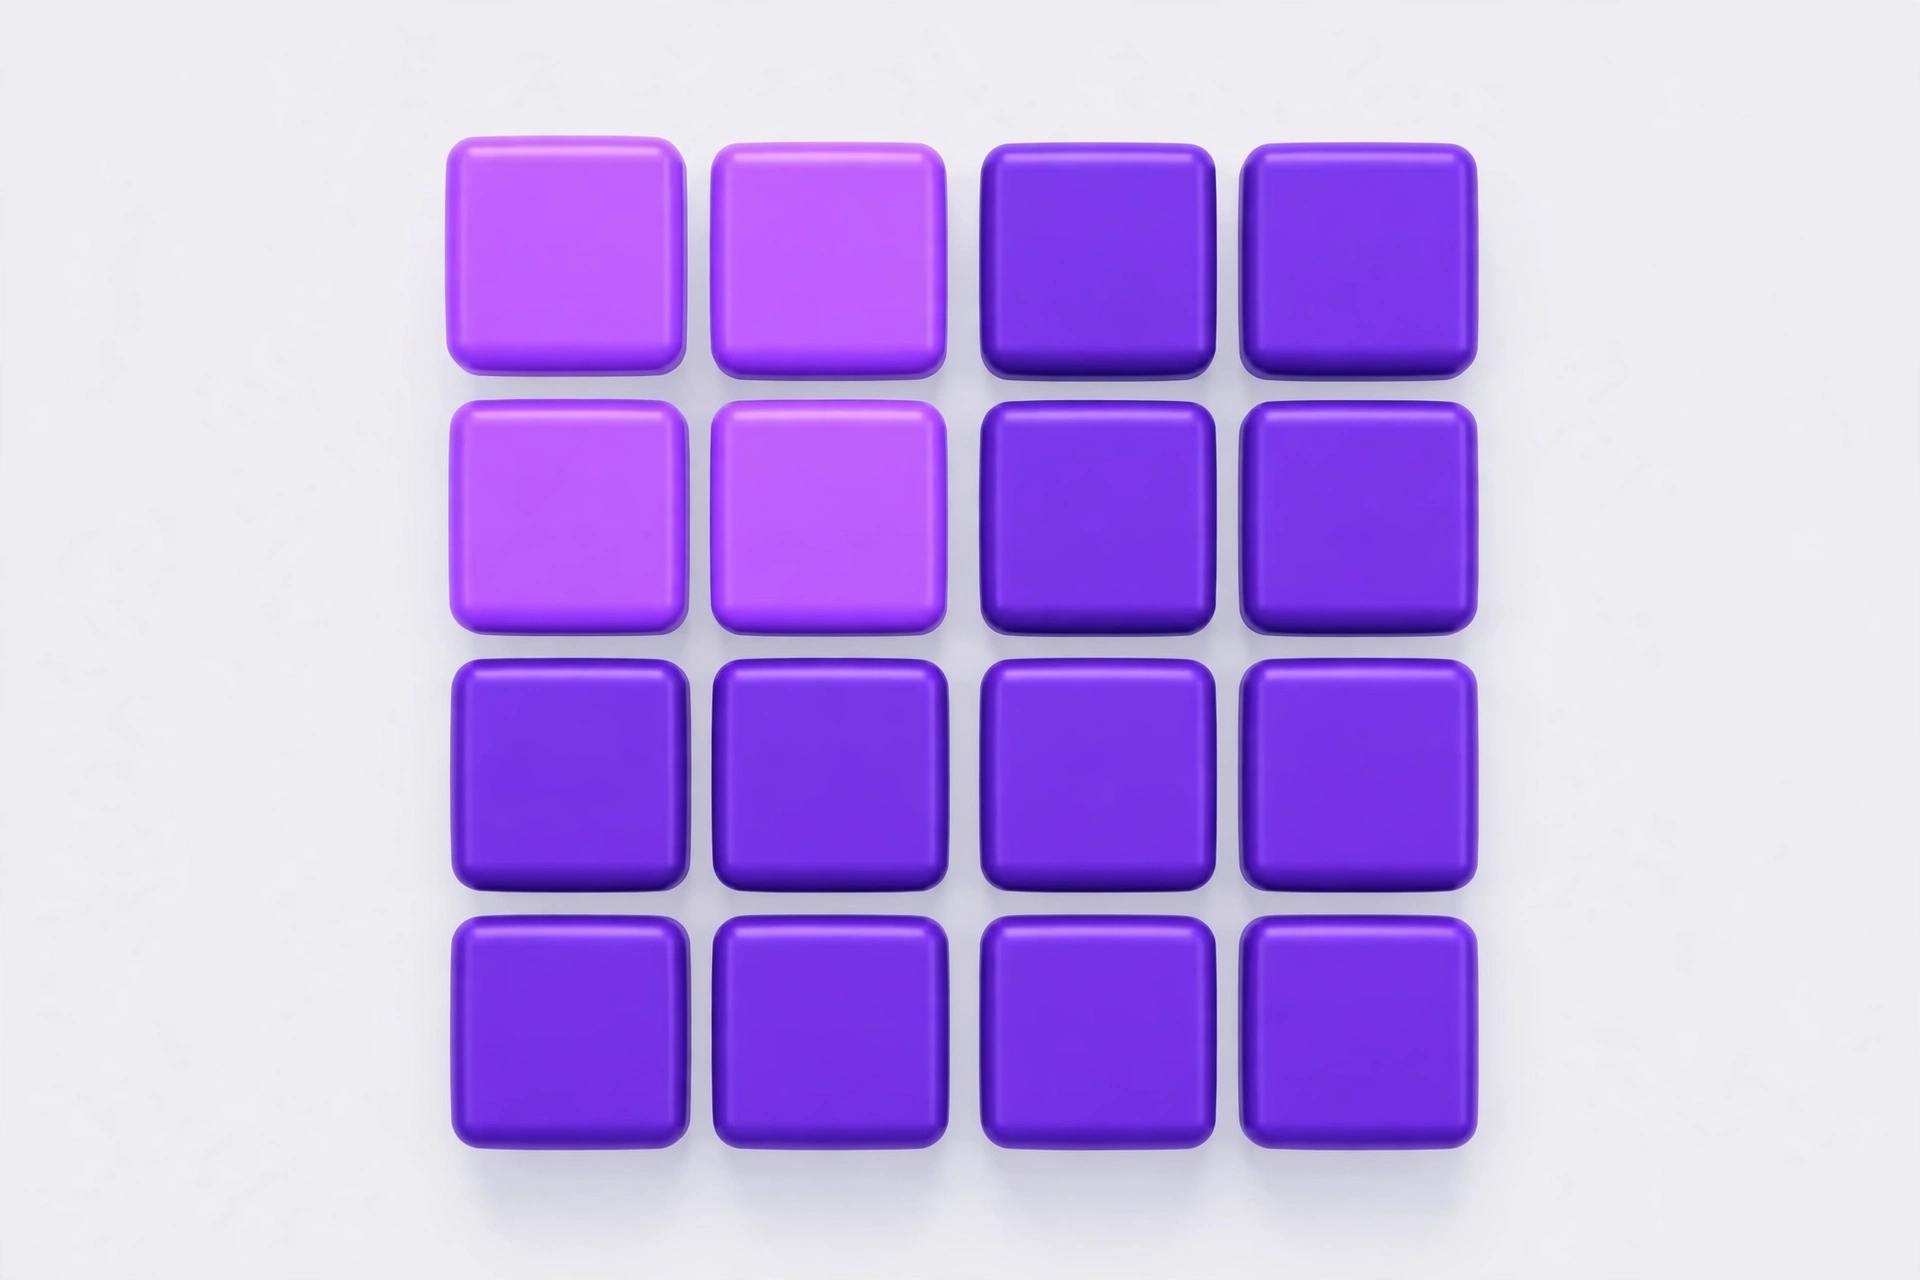
Pixel count is the biggest cost in any image file, and it is the one most people ignore. A phone photo at 4000 × 3000 pixels holds 12 million pixels. If it will only ever be displayed 1200 pixels wide — a blog column, a form upload, a listing — then most of those pixels will never be seen by anyone. They still cost file size.
Scaling is simple arithmetic, and it is always in your favour:
- Scale to 50% and each side halves: 4000 × 3000 becomes 2000 × 1500. That is 3 million pixels — one quarter of the original.
- Scale to 25% and it becomes 1000 × 750: 750,000 pixels, about one sixteenth of the original.
Halving the width and height quarters the pixel count, and therefore roughly quarters the file, before quality settings even enter the picture. That is why the order matters: resize first, then compress. Compressing a needlessly huge image forces the encoder to throw away enormous amounts of detail to hit a small size, and the result looks soft or blocky. Resizing first means the encoder only has to compress the pixels that will actually be displayed, so it can preserve far more visible detail at the same file size.
Start from the display size. If a photo will show at half its original width, 50% matches the dimensions to the display. Going lower saves more space but risks softness if the image is ever shown larger — and scaling is one-way. The downloaded file has fewer pixels than the original, and enlarging it later will soften the image because the detail is gone. Keep your original file if you might need the full-size version again for print or a larger layout.
The second lever: quality
Once the dimensions are right, quality is the fine-tuning knob. A good starting point is around 85 — the default on the Image Size Reducer — and the useful range for screen images sits roughly between 75 and 85. In that range, the detail being discarded is the kind your eye barely registers at normal viewing sizes, so the first chunk of savings is usually invisible.
Watch for the point where it stops being invisible. Push quality too low and you will see blocky patches, especially in smooth areas like skies, and fuzzy edges around text and sharp lines. If you see that, step the quality back up, and take the remaining saving from the scale percentage instead. Trading a few more pixels almost always looks better than grinding quality into mush. Work from the original each time you need a new size: every lossy save discards a little more detail, and quality only goes down.
The third lever: pick the right format
Sometimes the format itself is the problem, and no amount of quality tweaking fixes it. The three formats you will meet most often do very different jobs:
| Format | Best for | Trade-off |
|---|---|---|
| JPG | Photographs | Lossy — small files, no transparency |
| PNG | Logos, screenshots, graphics, anything needing transparency | Lossless — every pixel preserved, but large for photos |
| WebP | Web images where speed matters | Lossy or lossless, supports transparency, typically smaller than JPG at similar quality |
A photograph saved as PNG can be several times larger than the same photo saved as JPG, because PNG was never designed for photos — it stores every pixel exactly. If your large file is a PNG photo or screenshot, converting it to JPG — or better, WebP — often shrinks it more than any quality setting will. If you need transparency or razor-sharp text, PNG is the right choice and you should take the saving from dimensions instead. For web use, WebP is usually the best default when the destination supports it.
If the format is wrong, fix that before you fine-tune anything else. The Image Compressors category on this site has a compressor per format — JPG for photographs, PNG for graphics and screenshots, WebP for modern web formats — plus a bulk compressor for a whole folder, and converters if the format itself needs to change.
The workflow: shrink an image step by step
Here is the full routine using the Image Size Reducer:
- Choose your image. The tool accepts a file up to 10 MB. Keep the original safe — you are making a smaller copy, not replacing it.
- Set the scale percentage from the display size. Showing it at half width? Start at 50%. A form thumbnail? Go lower. Remember: halving each side quarters the pixels.
- Leave quality at 85 to start. That is the tool’s default, and a sensible middle ground for screen use.
- Click Run and compare the sizes. The tool shows the new size against the original. That measured result — not a guess — is what you judge by.
- Work down in steps if it is still too big. Lower the quality a little and run again, or drop the scale percentage further. Check the size after each step rather than guessing a big jump.
- Download when it fits. If a strict limit still will not budge, change the format — a PNG photo converted to JPG or WebP often clears a limit that quality alone could not.
For a strict upload limit, work down to it rather than trying to land on it in one shot: drop the quality a little, check the resulting size, repeat. Note that some forms specify a range, not just a maximum — if you land far below the range, raise the quality or the scale percentage back up instead of submitting a needlessly degraded image.
When scaling is the wrong move
Scaling down is not always the answer. Do not scale an image you will need at full size later — for print, for a larger layout, for cropping freedom. Do not bother shrinking a file that already meets the requirements; re-encoding a small file can even make it slightly larger, for nothing. And if the image is blurry or badly lit to begin with, no compression setting will rescue it — retake it if you can.
Frequently asked questions
Does reducing file size lower the quality?
It can, but it does not have to visibly. Lossy compression discards detail, and resizing removes pixels permanently. At sensible settings — right dimensions, quality around 75 to 85 — the difference is usually invisible at the size the image is actually shown. Push either lever too far and it becomes visible, which is why you check the result instead of trusting a number.
Can I compress an image to exactly 50 KB?
Not with a percentage-and-quality tool, and you should be suspicious of any tool that promises an exact result without explaining the search behind it. You can work down to under a limit by stepping the scale and quality down and measuring after each step — and if a form demands an exact range, expect a few tries.
What if the file is still too big after scaling and quality?
Change the format. A PNG photo converted to JPG or WebP is usually the biggest single saving available. If it is already a JPG or WebP at small dimensions and low quality and still too big, the image is probably being shown far larger than its destination needs — scale further, or crop out parts of the frame nobody needs.
Does the tool upload my photo anywhere?
No. The Image Size Reducer processes files in your browser, on your own device, and never sends them to the site’s server. Your original is never copied anywhere by using it.
A smaller file, without the guesswork
The missing “compress to 50 KB” button turns out to be a useful truth: file size follows pixels, quality, format, and the picture itself — not a single dial. Scale to the display size first, start quality at 85, pick the format that fits the job, and measure after each step.
Try it on your next oversized photo with the Image Size Reducer, and browse all free tools if the job needs a different tool. Most images that felt impossibly large shrink to a fraction of their size that way, with nothing visibly lost at the size anyone will actually see them.
Pingback: What Is EXIF Data? What Your Photos Reveal About You
Pingback: KB vs KiB Explained: Why Your 1 TB Drive Shows 931 GB
Pingback: Lossy vs Lossless Compression: What Actually Changes